Every great quilting journey starts with a single stitch! The Patchwork Path guides you through six fun, hands-on projects designed to build your sewing skills one step at a time. From your first seams to piecing blocks, creating a fabric basket, and finishing your very own throw quilt, each project introduces new techniques while building on what you’ve already learned.
With easy-to-follow guidance and projects you’ll be proud to show off, you’ll gain confidence, spark your creativity, and create something special along the way.
Six little projects. New skills. Memories stitched to last.
FIRST STITCHES TABLE MATS
Your Sewing Journey Starts Here!
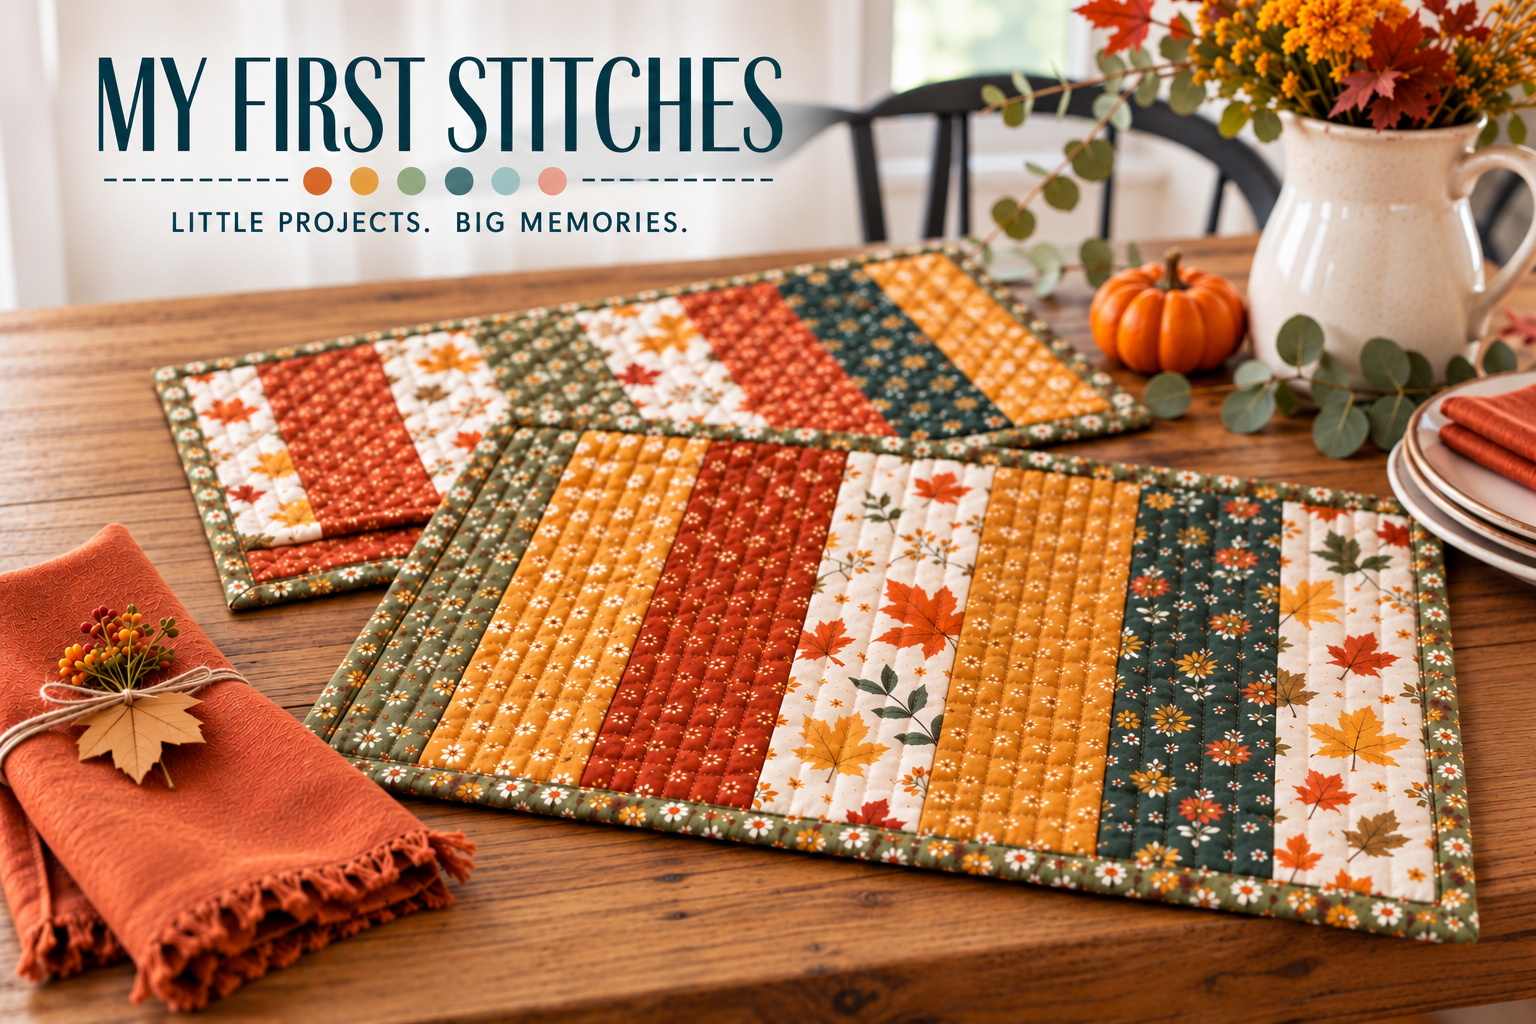
Every sewing adventure begins with a first stitch! This beginner-friendly project is designed to help you build sewing skills, gain confidence, and create something beautiful that you’ll be proud to use in your home.
What You’ll Learn:
Get to Know Your Sewing Machine — Learn the basic parts of your machine, how to thread it, and how to get comfortable sewing.
Practice Your ¼-Inch Seam — Discover how accurate seam allowances are important and help your fabric pieces fit together neatly and create a polished finish.
Cut and Piece with Confidence — Learn how to handle fabric, line up your pieces, and sew simple strips together to create your table mats.
Build Your Stitching Skills — Practice sewing straight, consistent lines while learning to guide your fabric smoothly through the machine.
Master the Art of Pressing — Learn when and how to press your seams as you go, helping your project lie flat and your finished mats look their best.
Celebrate Your First Finish — Bring all your new skills together to complete a practical, handmade project you can use every day.
Your Finished Project: A beautiful pair of handmade table mats, along with the skills, confidence, and excitement to keep stitching!
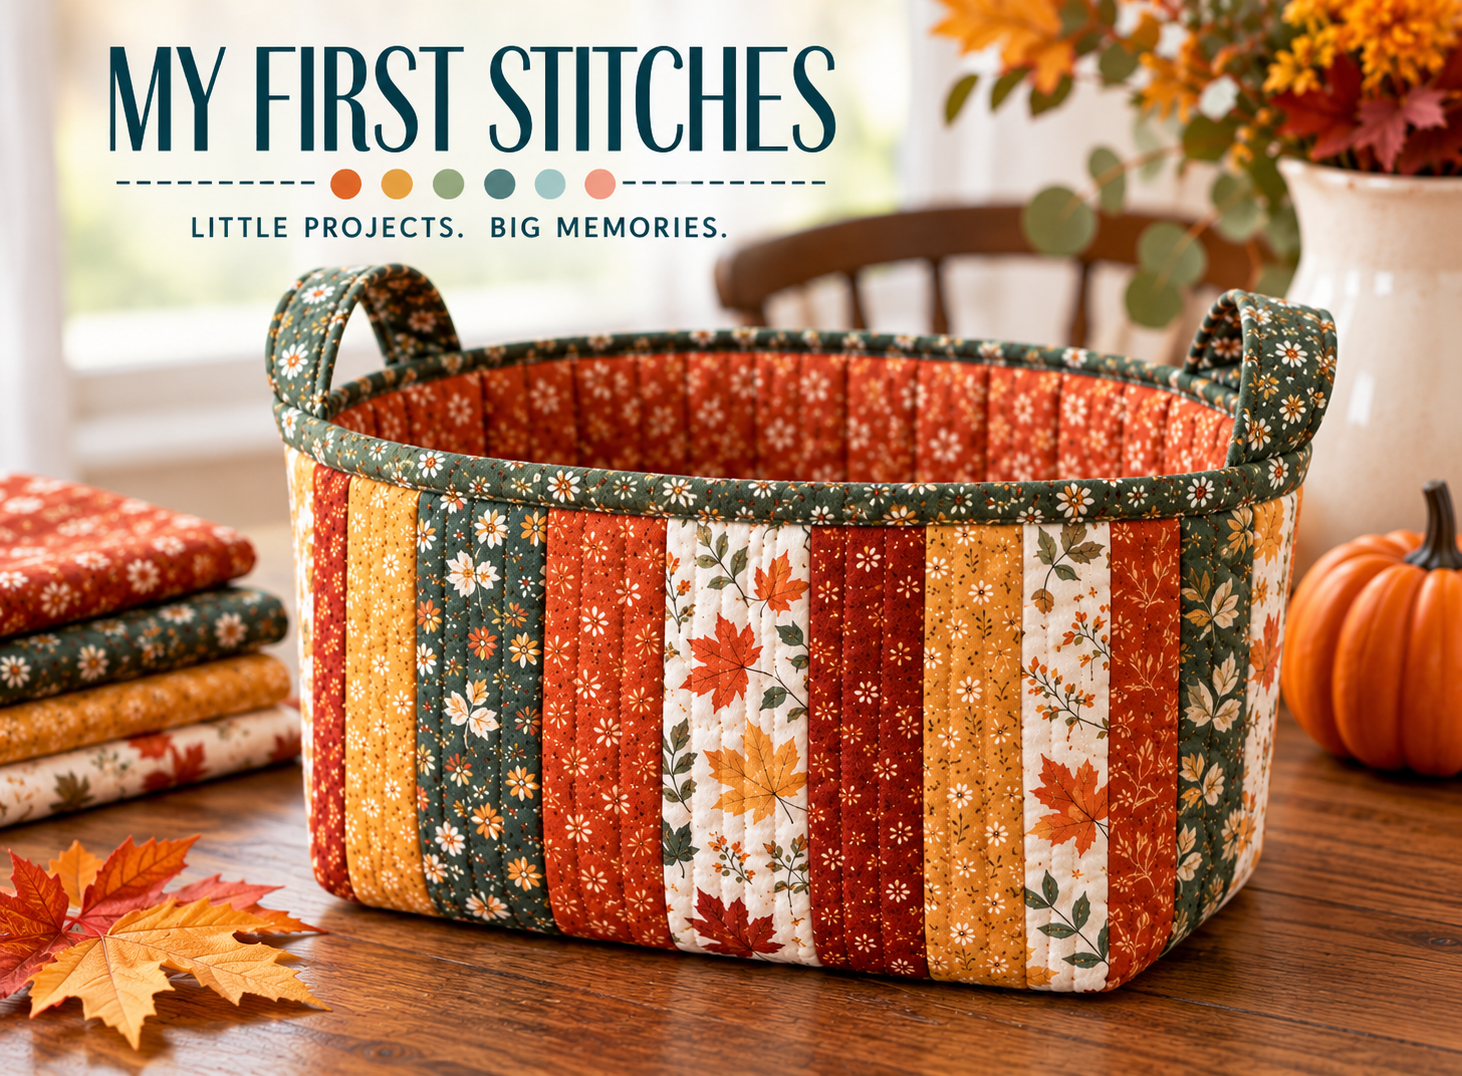
QUILTED FABRIC BASKET
Cut, Piece & Create!
Ready to build on your new sewing skills? In Step 2, you’ll learn how to measure, cut, and assemble fabric to create a beautiful quilted basket that’s both practical and stylish. This project introduces new tools and techniques while helping you grow your confidence one stitch at a time.
What You’ll Learn:
Measure with Confidence — Learn how to measure fabric accurately and mark your pieces for a neat, professional-looking finish.
Cut Like a Quilter — Discover how to safely use a rotary cutter, quilting ruler, and cutting mat to create straight, precise fabric pieces.
Piece Your Project Together — Practice aligning fabric pieces, sewing consistent seams, and keeping your edges straight as you assemble your basket.
Learn the Basics of Quilting — Work with fabric layers and batting to give your basket structure, texture, and that classic quilted look.
Shape and Finish Your Basket — Bring your quilted pieces together to create a sturdy, functional basket with a finished shape you’ll be proud to show off.
Build on Your First Stitches — Strengthen the skills you learned in Step 1 while discovering new techniques you can use in future sewing projects.
Your Finished Project: A handmade quilted fabric basket that’s perfect for storing sewing supplies, fabric scraps, little treasures, or everyday essentials!
FOUR-PATCH PILLOW COVER
Piece It Together!
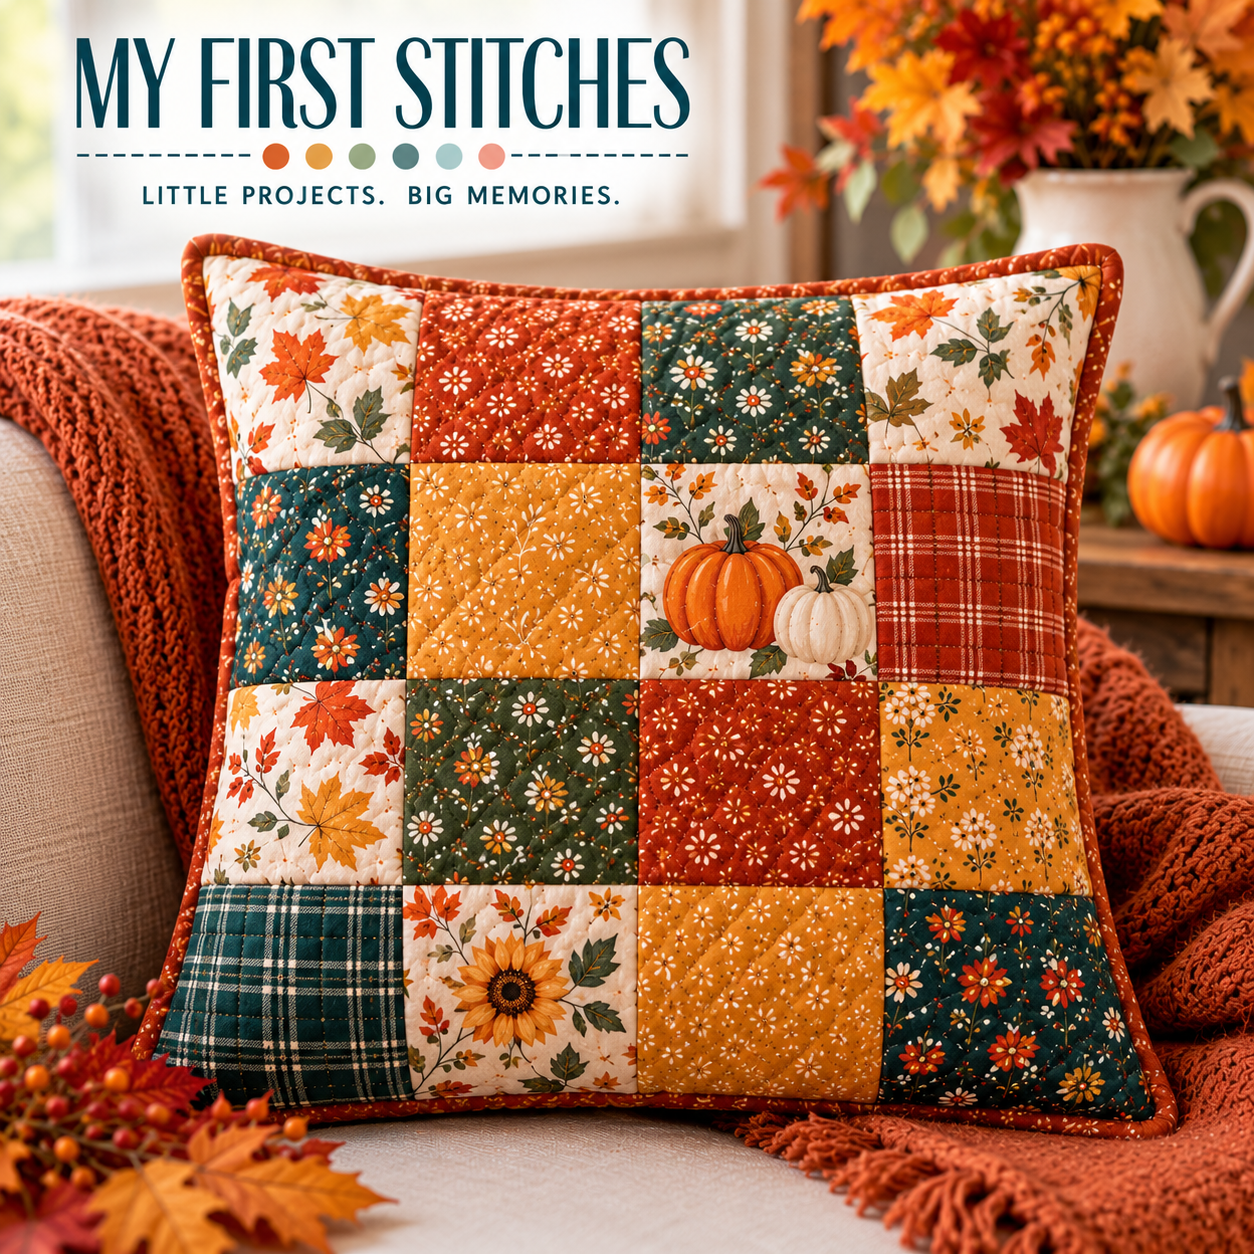
Ready to turn simple fabric squares into something beautiful? In this step, you’ll learn how to create Four-Patch quilt blocks and sew them together to make a charming patchwork pillow cover. You’ll build on the skills you’ve already learned while developing greater accuracy, patience, and confidence at your sewing machine.
What You’ll Learn:
Create Four-Patch Blocks — Learn how to arrange and sew four fabric squares together to create a classic quilt block that’s simple, versatile, and full of creative possibilities.
Pin with Purpose — Practice positioning and pinning your fabric pieces so they stay aligned while you sew.
Perfect Your ¼-Inch Seams — Continue developing consistent seam allowances to help your blocks turn out the correct size and fit together neatly.
Match Your Seams — Discover how to line up intersecting seams and fabric edges for clean points and a more polished patchwork design.
Join Your Blocks Together — Learn how individual Four-Patch blocks come together to form a larger patchwork design.
Assemble Your Pillow Cover — Turn your finished patchwork panel into a beautiful, practical addition to your home.
Your Finished Project: A beautiful handmade Four-Patch pillow cover that showcases your growing sewing skills and adds a personal touch to your home!
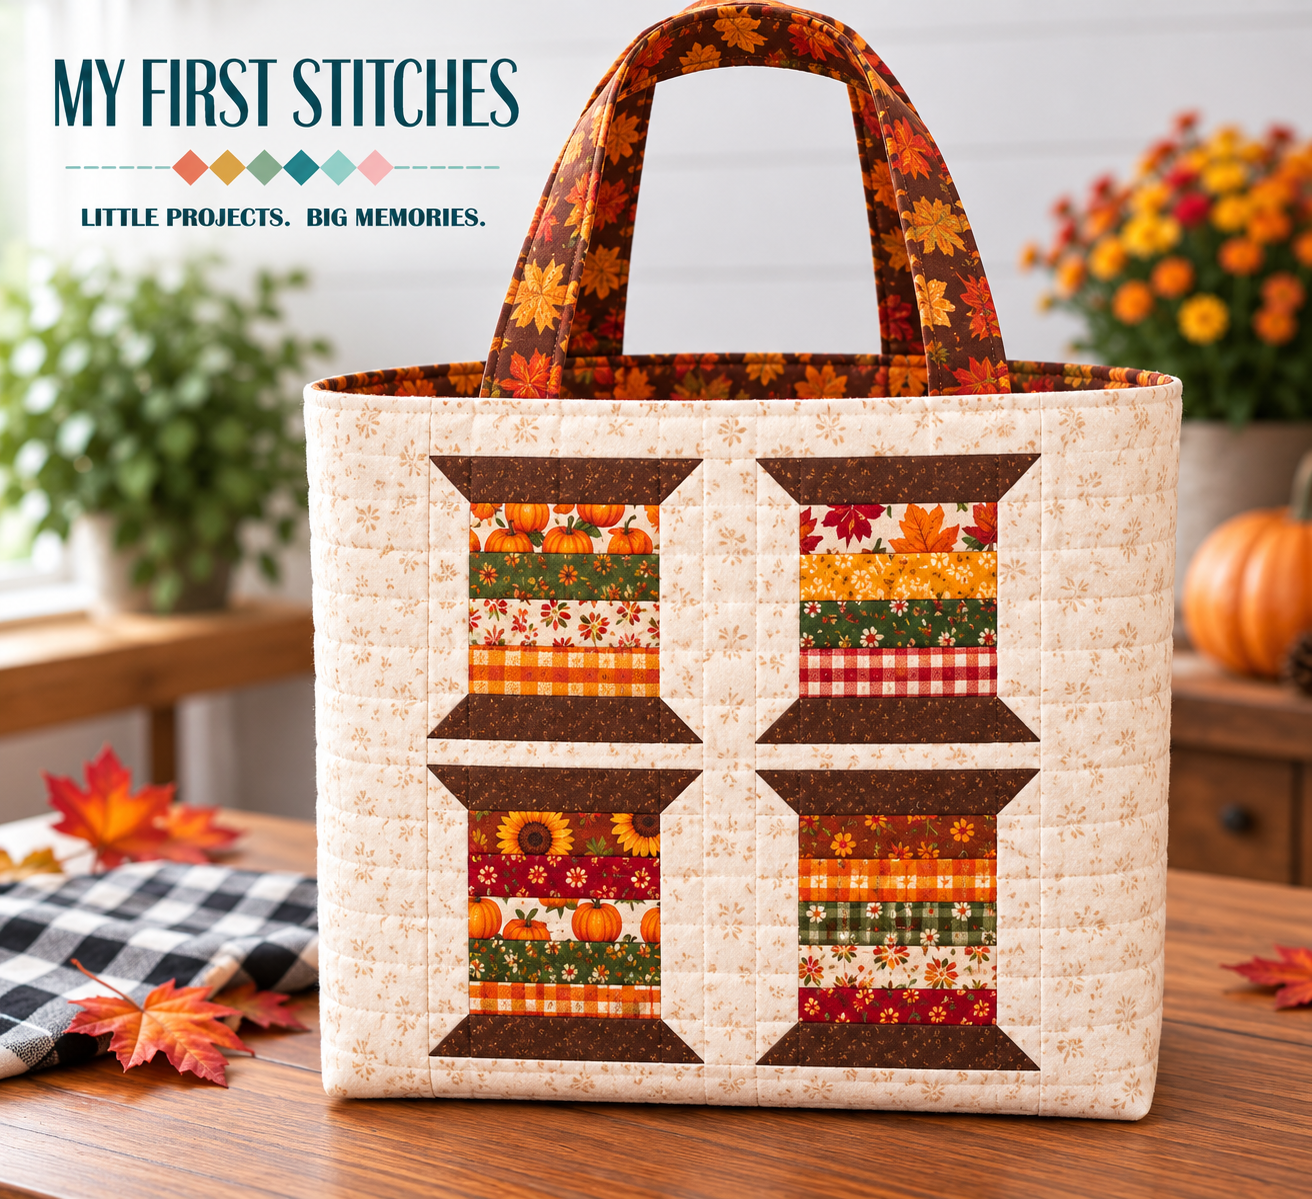
SPOOL BLOCK TOTE BAG
Piece, Frame & Create!
Put your growing sewing skills to work and create a tote bag inspired by the timeless look of a spool quilt block! In this step, you’ll explore new piecing techniques, learn how to frame your quilt blocks, and discover how individual fabric pieces come together to create a beautiful, functional project. With every seam, you’ll gain confidence and learn techniques you can use in future quilting adventures.
What You’ll Learn:
Create the Classic Spool Block — Learn how to piece together fabric shapes to create a charming spool design inspired by traditional quilting patterns.
Master Stitch-and-Flip Piecing — Practice sewing fabric pieces together and flipping them into place to create crisp shapes, accurate corners, and beautiful designs.
Measure and Cut with Accuracy — Build your confidence in measuring and cutting fabric pieces to ensure your blocks fit together neatly and your finished tote comes together smoothly.
Add Sashing to Frame Your Blocks — Discover how to sew fabric strips between or around your spool blocks to frame your design and give your tote a polished, finished appearance.
Practice Consistent Seams — Continue developing your ¼-inch seam allowance and learn how careful piecing helps your blocks align beautifully.
Construct Your Tote Bag — Bring your pieced blocks together to create the body of your tote, learning how individual quilted panels become a useful everyday accessory.
Cut and Prepare Your Handles — Learn how to measure, cut, fold, and sew fabric strips to create sturdy tote handles while practicing techniques that will prepare you for binding future quilts.
Your Finished Project: A practical, handmade spool-block tote bag that combines classic quilting charm with everyday usefulness! Carry your sewing supplies, projects, books, or favorite treasures in a bag you made yourself.
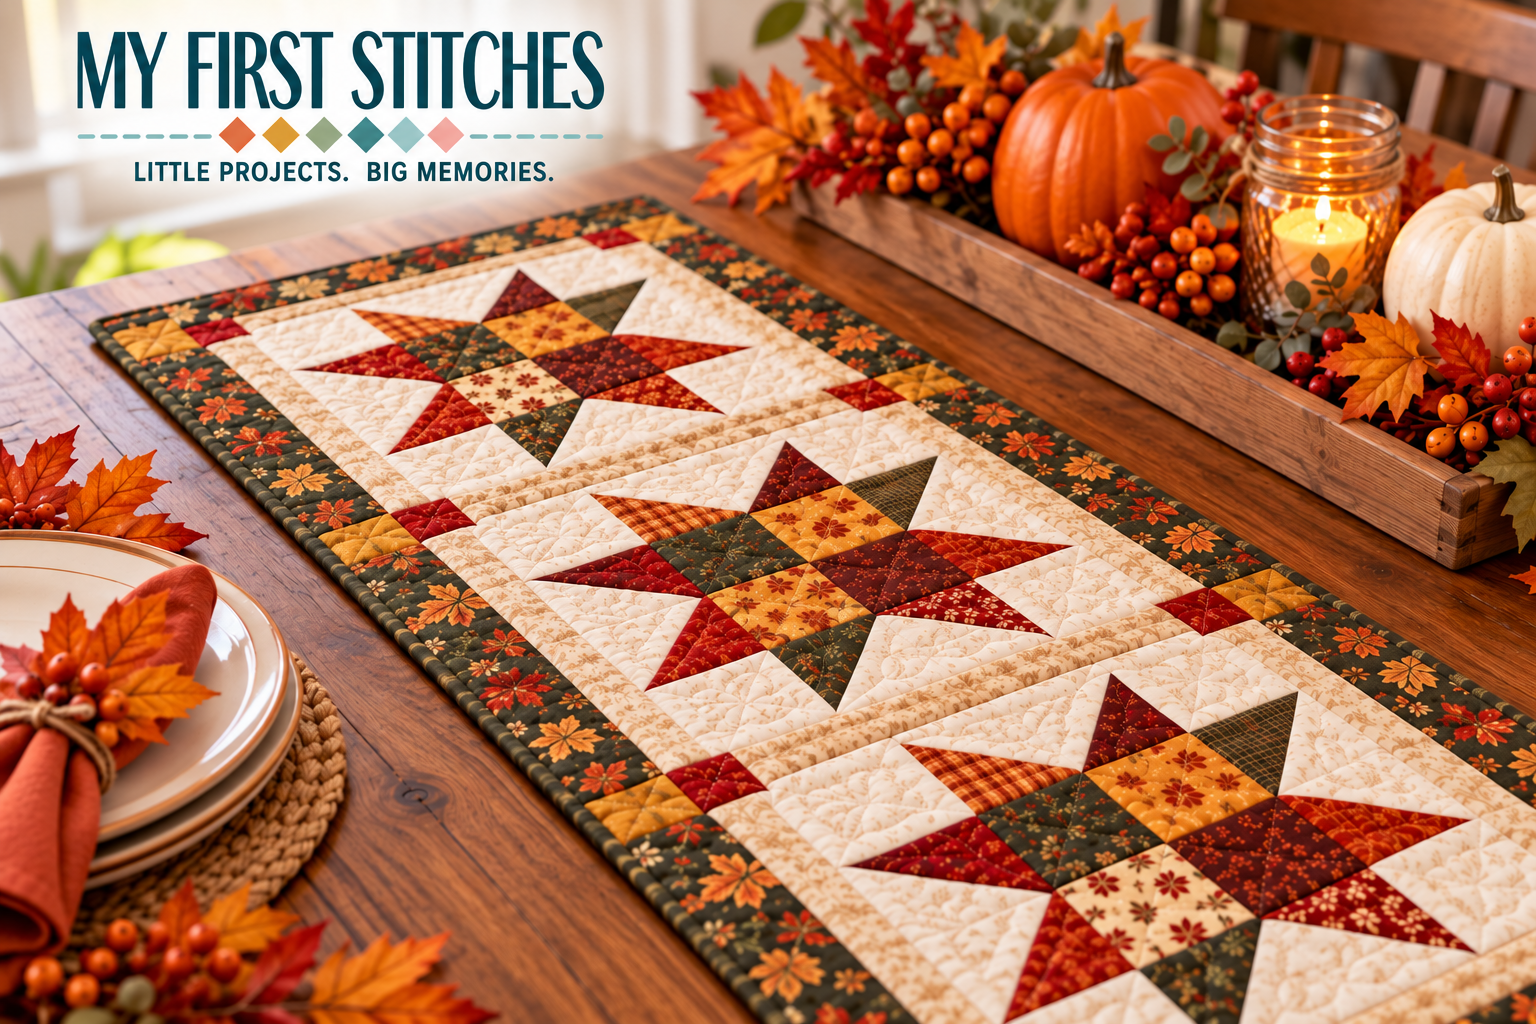
FOUR-PATCH STAR TABLE RUNNER
Piece, Press & Finish!
You’ve learned to piece blocks, match seams, and bring fabric together—now it’s time to turn those skills into a beautiful table runner! In this project, you’ll create a striking Four-Patch Star design while learning one of the most important finishing techniques in quilting: attaching binding. From preparing your fabric to stitching the final edge, you’ll discover how the finishing details make your project look complete and professional.
What You’ll Learn:
Create Your Four-Patch Star Blocks — Build on your patchwork skills as you arrange and sew fabric pieces together to create a beautiful star design.
Cut with Accuracy — Practice measuring and cutting fabric pieces carefully so your blocks fit together neatly and your finished runner has clean, even edges.
Piece Your Table Runner — Learn how to join your star blocks and surrounding fabric pieces to create a balanced design.
Prepare Your Quilt Layers — Discover how the quilt top, batting, and backing come together to create a finished quilted project.
Learn the Basics of Binding — Practice positioning, pinning, and stitching binding around the edges of your runner while learning how to manage corners for a neat finish.
Your Finished Project: A beautiful handmade Four-Patch Star table runner that adds a seasonal touch to your home and showcases your growing quilting skills. Best of all, you’ll have learned the essential binding technique that helps turn future quilts into finished treasures!
NINE-PATCH STAR THROW QUILT
The Grand Finale!
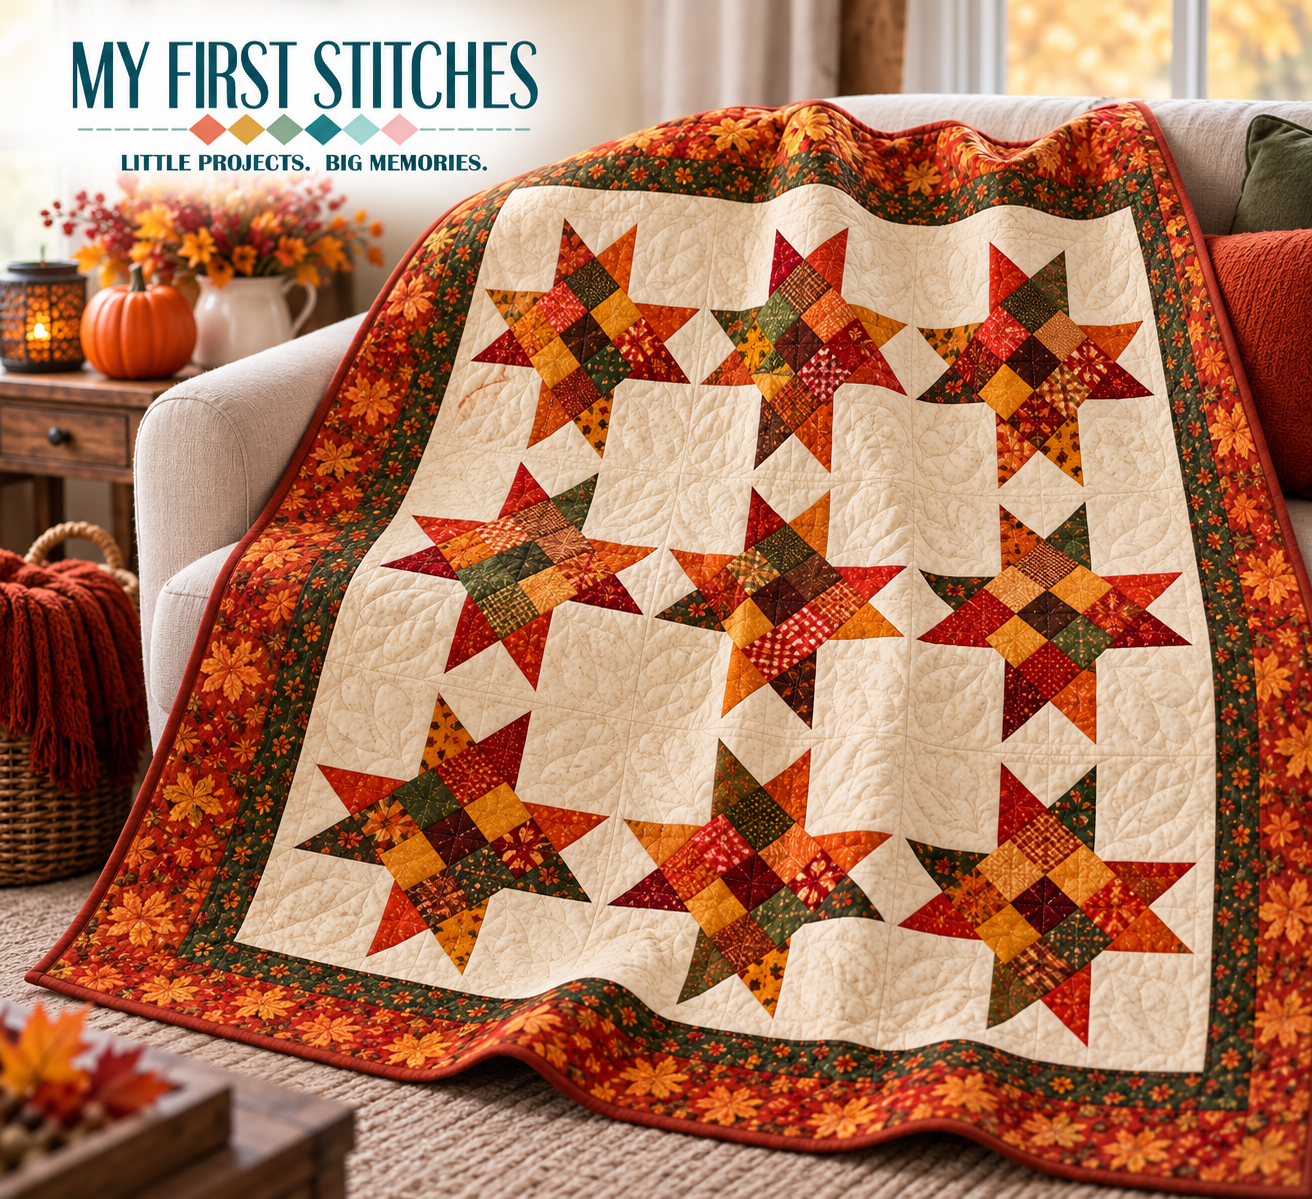
You’ve learned the basics, practiced your piecing, mastered new techniques, and created projects to be proud of. Now it’s time to bring everything together for your biggest stitching adventure yet! In this final project, you’ll use the skills you’ve developed throughout your My First Stitches journey to create a beautiful, throw-size Nine-Patch Star quilt.
From choosing and arranging your fabrics to piecing your star blocks and assembling your quilt top, you’ll see how each new skill builds on the last. This project is all about celebrating your progress, embracing your creativity, and discovering the satisfaction of making something truly special from start to finish.
What You’ll Learn:
Create Your Nine-Patch Star Blocks — Bring together smaller fabric pieces to create striking star designs using the classic nine-patch layout.
Measure and Cut with Confidence — Apply your measuring, ruler, and cutting skills to prepare accurate fabric pieces that fit together beautifully.
Piece with Precision — Practice consistent ¼-inch seams, careful fabric alignment, and accurate seam matching as you construct your quilt blocks.
Arrange Your Quilt Design — Learn how to position your blocks and background fabrics to create a balanced layout for your throw-size quilt.
Assemble the Quilt Top — Join your completed blocks into rows, match seams, and sew the rows together to transform individual blocks into one beautiful quilt top.
Prepare for Quilting and Finishing — Discover how your quilt top, batting, and backing fit together, and build on your knowledge of binding to understand the steps needed to finish your quilt.
Your Finished Project: A beautiful, handmade throw-size Nine-Patch Star quilt that showcases your creativity, growing confidence, and all the skills you’ve learned along the way. It’s a cozy addition to your home, a meaningful keepsake, and a reminder of what you can accomplish one stitch at a time.
You started with your first stitches. Now you’ve created a quilt to treasure for years to come!